Install Windows xp....(part 2)
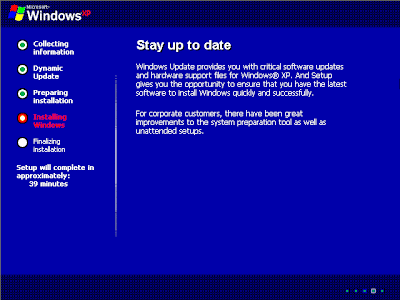
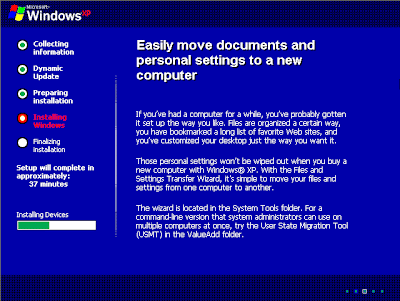
The majority of this setup phase requires no user intervention. The screens contain a description of Windows XP features. I can only assume they were created in an attempt to kill the time while XP installs and provide a general time to completion reference. I've placed a red border around those screens that require user input. The others are here simply because some TEG visitors have asked me to make them available.
An Exciting New Look
Try The Easiest Windows® Yet
Stay Up To Date
Your Computer Will Be Faster and More Reliable
Get Support for the Latest Hardware and Software
Easily Move Documents and Personal Settings To A New Computer
Surfing the Internet; Safe, Fast, and Flexible
Explore Your Creative Side with Photos and Videos
The first screen that requires any user input in this phase is Regional and Language Options. If you're using English and you do entry via the keyboard the defaults will suit you fine.
Somehow, typing my name and my company name doesn't exactly give me a warm fuzzy sense of personalization, but that's what the Personalize Your Software screen wants you to enter. I guess you could give some bogus information if it sends a little thrill through you to pull one over on Microsoft.
The screen everybody loves to hate; the dreaded Your Product Key screen. The XP installation process stops here if you don't have one, so for those of you leaving at this point, have a good day.
Installation is going to automatically assign a computer name in the Computer Name and Administrator Password screen. Once you see the name it chooses you'll be grateful it can be easily changed. The important part of this screen is the administrator password. All the begging and pleading in the world can't make you choose something that's hard to guess, but just remember that this one single choice you're making right now is the key into everything you hold near and dear (and private) in the world of computing. It's also essential you remember the password, even if you aren't a case sensitive type of guy/gal.
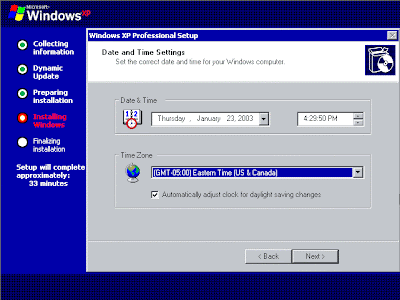
Unless you prefer to live in the past or future, Date and Time Settings should be set current.
Music and Entertainment Just Got Better
In Network Settings, unless you have a good reason for selecting Custom Settings, go with the Typical Settings. No matter how special you might think your setup is, in most cases it will function perfectly well with the typical settings.
If you're a domain member, this is the time to speak up, or at least type the name of the domain. More than likely you'll do just fine being a part of a workgroup. You can leave the name 'WORKGROUP' if you want, but why not avail yourself of one of the few places in the XP setup where you can actually express some creativity. Note: Changing it to 'MYWORKGROUP' is not expressing creativity.
Windows Movie Maker Makes It Easy and Fun
Work Anytime, Anywhere
Windows XP Is Great for Notebook Computers
Stay Connected With Colleagues, Customers, Friends, and Family
The Most Dependable Windows for Business Computing
Experience the Ultimate in Safety, Security, and Privacy
Experience the Ultimate in Safety, Security, and Privacy
Be Assured of Greater Accessibility
Now It's Easier To Get Help -- And To Help Others !
Enjoy Using Windows® XP!
Now It's Easier To Get Help -- And To Help Others !
Enjoy Using Windows® XP!
Windows XP Professional is Loading
your computer and will automatically restart when finished. When the Display Settings dialog appears, click OK.
When the Monitor Settings dialog box appears, click OK.
The final stage of setup begins. On the Welcome to Microsoft Windows page, click Next.
On the Help protect your PC page, click Help protect my PC by turning on Automatic Updates now. Then, click Next.
Windows XP will then check if you are connected to the Internet.
If you are connected to the Internet, select the choice that describes your network connection on the Will this computer connect to the Internet directly, or through a network? page.If you’re not sure, accept the default selection, and click Next.
•If you use dial-up Internet access, or if Windows XP cannot connect to the Internet, you can connect to the Internet after setup is complete. On the How will this computer connect to the Internet? page, click Skip.
Windows XP Setup displays the Ready to activate Windows? page. If you are connected to the Internet, click Yes, and then click Next. If you are not yet connected to the Internet, click No, click Next, and then skip to step 24. After setup is complete, Windows XP will automatically remind you to activate and register your copy of Windows XP.
On the Ready to register with Microsoft? page, click Yes, and then click Next..
On the Collecting Registration Information page, complete the form. Then, click Next.
On the Who will use this computer? page, type the name of each person who will use the computer. You can use first names only, nicknames, or full names. Then click Next.
On the Thank you! page, click Finish.
welcome screen appear and see your first desktop.
remove windows xp from cd/dvd drive and restart your pc .Install all your motherboard drivers like, sound, vga, lan...etc
To change start menu button right click on task bar > go to properties
it open task bar and start-menu properties
click on start menu > classic start menu> apply> OK


1 comments:
INSTALL WINDOWS XP FASTER THAN NORMAL INSTALATION
on http://skyoftechnology.blogspot.in/
Post a Comment